Introduction
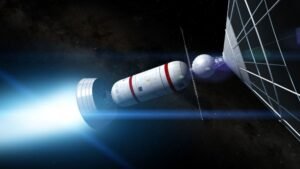
The iconic red glowing Bussard collectors, seen on Starfleet vessels in Star Trek: Known as the Original Series (TOS), they have managed to entice viewers for many years now. These theoretically implemented ray grabbing cars which are built to grab interstellar hydrogen to feed its starship engines have become iconic of futuristic technology. Although such collectors are found only in science fiction, recreating such mesmerizing effects is one of the common alluring passions of the hobbyists or die-hard fans of Star Trek.
In this guide you will learn how to construct and even design your own TOS Bussard scoops simply by utilizing the Arduino microcontroller. Here you will find a step-by-step guide, possible problems, and ideas on how to make your creation become a part of the Star Trek universe no matter if you whether you’re new to Arduino or a seasoned DIY maker.
What Are Bussard Scoops?
Understanding the Concept
Bussard collectors, so named in honor of Robert W. Bussard, are an hypothetical propulsion system aimed at scooping interstellar hydrogen. In Star Trek, these are depicted as red domes on the end of the nacelles of a starships which provides viewers with a representation of the vessels energy collection. As much as it is a fictional technology, the idea has provoked many to recreate the same effect for models, displays and other cosplays.
Why Use Arduino for This Project?
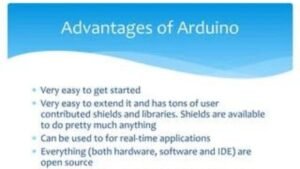
Arduino: The Ideal Platform for DIY Projects
Arduino is an open-source microcontroller based system that provides a cheap, versatile and friendly platform for prototyping electronics. These are also favored by hobbyists due to its ability to support different projects, cheap and comes with a large user base of people who share resources and information.
For this project you can command LEDs or handle the lighting effects and even add sound or remote control functions to your Bussard scoops. Where Arduino is so flexible is that almost anything can be done, allowing you to come up with a display that meets the standards of being aesthetic and personalized.
Materials Needed
Gathering Your Components
To recreate the TOS Bussard scoops using Arduino, you will need the following components:
- Arduino Uno or Nano: Another one is a microcontroller board on which our software controlling all the LED effects will be located.
- Addressable LED Strip (WS2812B or similar): These LED lights can be mixed and can also be controlled individually hence providing the aspect of dynamic lighting.
- Red Diffuser Domes: As an object attached to the show of Star Trek I wanted to mimic the red color which is seen in the Bussard scoops.
- Power Supply (5V for Arduino and LEDs): Ensure the LEDs get the adequate current, necessary to ‘drive’ them but not too much current as would cause a problem on the arduino board.
- Wires and Connectors: It is here that connection bocks of components are located.
- Resistors (330Ω): In this way it is possible to protect the LEDs from possible damages or overheating by surge currents during the operation .
- Push Buttons or Switches: Said system can be considered to be used for purposes of manual control, when necessary.
- Software (Arduino IDE): For transferring the program in Arduino board For placing the program in the Arduino board.
Step-by-Step Guide Running TOS Bussard Scoops with Arduino
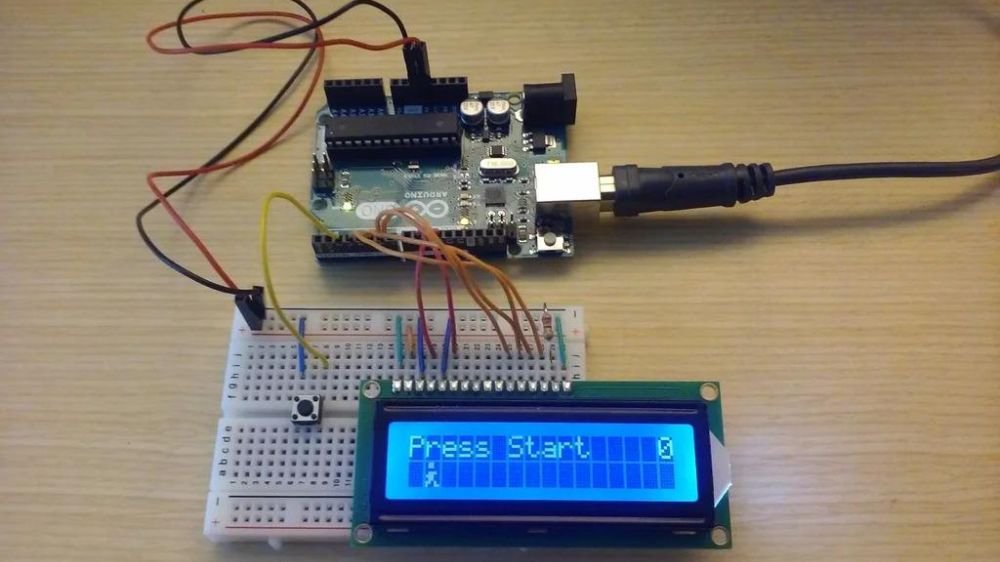
1. Setting Up the Arduino Environment
Installing the Software
- Choose Arduino IDE as the paraphernalia to use first and then adding the hardware on to it. This is specific platform where you will write debugs and upload code in Arduino board.
- When you’re near your computer, connect your Arduino board to it using a USB cable.
2. Installing Necessary Libraries
Expanding Arduino’s Capabilities
- When you wish to manage the LED strip then you have to include either the FastLED or the Adafruit NeoPixel library as per your type of LED strip.
- The library is accessible for the Arduino IDE; To do this, one has to go to Tools > Libraries and search for the correct library.
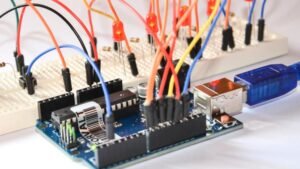
3. Wiring the Components
Connecting the Hardware
- Connect one end of the LED strip to any of the digital pin on the Arduino board for instance, digital pin number 6.
- Finally connect the last wires and these are the power wire and the ground wire to the Arduino or any other power source.
- If you want to have the possibility to add some control using push buttons or switches, connect them to the arduino.
Pro Tip: Make sure that the power supply capacity of LED can support the current consumption of your LED strip especially if you will be using many numbers of LEDs.
4. Programming the Arduino
Writing and Uploading the Code
Open the Arduino IDE and start a new project. Begin by including the necessary libraries at the top of your sketch.
cpp
Copy code
#include <FastLED.h>
#define LED_PIN 6
#define NUM_LEDS 30
CRGB leds[NUM_LEDS];
In the setup() function, initialize the LED strip:
cpp
Copy code
void setup() {
FastLED.addLeds<WS2812B, LED_PIN, GRB>(leds, NUM_LEDS);
FastLED.setBrightness(150);
}
Create the effect in the loop() function. For a simple swirling effect:
cpp
Copy code
void loop() {
for (int i = 0; i < NUM_LEDS; ++i) {
leds[i] = CRGB::Red;
FastLED.show();
delay(30);
leds[i] = CRGB::Black;
}
}
- Upload the code to the Arduino board. The LED strip should now display the swirling red effect.
5. Testing and Calibration
Perfecting the Effect
- Once the code is uploaded power the Arduino as well as the LED strip. Make sure to watch the LEDs you are doing to ensure you achieve the outlook that you had in mind for the project you are working on.
- Want the time it takes for scoops to appear or fade out, change the brightness of the scoops or even the colour of the LEDs that surround the Bussard scoops to your liking.
- If you used push buttons, there is a way to let the arduino change speed or altering how LEDs interact with the pressed buttons.
6. Assembling the Bussard Scoop
Bringing It All Together
- Place the LED strip with the connector end inside the red diffusion shield. Ensure that the LEDs area is properly placed such that all of them will light the area with the same intensity.
- Screw the dome onto your starship model or stand then ensure that the cords and wires are connected and there is power applied as well.
Customizing Your Bussard Scoops
Taking Your Project to the Next Level
One of the biggest advantages of using Arduino is the ability to customize your projects extensively. Here are some ideas to enhance your Bussard scoops:
Color Cycling
- With this, they make their Arduino to blink through different colors in order to simulate the on state of the Bussard scoop. This can confer to the whole model a dynamic and a futuristic look which is quite attractive.
Sound Integration
- Extend the system with a speaker that will be playing engine or space music that will be in harmony with the LEDs. As this feature might turn out to be very useful to increase the level of realism and the immersion of your display itself.
Remote Control
- In controlling them one is able to control them through an IR receiver or even Bluetooth module to in effect control the Bussard scoops. This results into flexibility since one can adjust the setting or switch on the light without having physical contact with the model.
Multiple Modes
- Turn on and off or dim various ranges of lighting where these are turned through the different push buttons or through a remote control. For example, you may have have a ‘cruise’ which will have steady, moderate lighting and ‘warp’ one with higher activity and bright lighting.
Advanced Tips and Troubleshooting
Addressing Common Issues
Power Management
- If you find that your LED strip is dimming or even flickering, then it is probable that it may be for lack of adequate power. It may be appropriately advisable to have a separate and a more powerful power supply for the LEDs than the power supply of the Arduino.
Heat Dissipation
- Usage: LEDS and Arudino components could cause heat had been ought to be used for long time usage. Make sure that the arrangement of the system provides enough ventilation as this can contribute to heat issues that can, in the long run, reduce the performance of the device.
Code Optimization
- If you want to build more complicated effects where the blinking of LEDs is done at a much finer detail level, you are going to require some optimization on the Arduino code. This can be done through using better loops, minimizing delay or if the setup becomes too demanding, passing some of the load to secondary microcontrollers.
Conclusion
Creating and developing TOS Bussard scoops employing Arduino is a perfect opportunity to create something unique and apply the knowledge at the same time. In this way, by using this guide, therefore, you shall be able to create a display that is uniquely befitting of Star Trek while at the same time highlighting your DIY skills. Thus, Arduino provides great freedom in the construction of your Bussard scoops: they can be built with any complexity that you want and which will allow you to achieve the desired effect and features.
Whether working on the prop of a starship model, designing an exhibit, or incorporating entertainment to a costume, this project will be a hit in conventions and will renew your interest in electronics and design. Well, arm yourself with all the necessary materials, turn on your Arduino and set your imagination to the sky!
Also Read More Article: https://jeansato.online/